All Decked Out for Summer!
Leave a commentJune 11, 2015 by mayordeg
Of all the time procrastinating activities the internet has to offer, none really takes hold of you quite like Pinterest. For those unfamiliar with the site, it’s essentially the 2015 version of ripping things out of a magazine and putting it on a cork board. This little website has provided me with not only hours of entertainment, but, a lot of great home improvement ideas.
In the past month, I’ve really been hitting the Pinterest boards hard looking for some backyard inspiration. I can now say that it has finally seen some real progress and construction! I had some professionals come and look at it, designed and the re-designed ideas, and after a serious conversation with my parents settled on turning the dirt pit into a floating deck. A floating deck has all the great properties of a regular deck, level space, large unobstructed area, with none of the pesky time and money consuming permits the city makes you do. Since it’s not really off the ground, it’s not the same type of liability.
After thorough investigation and prep work, the construction was ready to begin. Per usual, the DIY network led me to believe this was a quick little turn around time. Mother Nature also led me to believe that she would cooperate. Both of those things turned this into a 2 weekend project. Big shout out to my awesome parents and their mobile toolbox for coming up 2 weekends in a row to help me tackle this.
So, where on earth did I even get the plans you ask? The DIY network and a few other sources. I combined a few plans to work for me. I mostly followed these:
http://www.diynetwork.com/how-to/outdoors/patios-and-decks/how-to-build-a-floating-deck#step5
So let’s get down to business. The deck blocks you need can only be found at Lowe’s, not the other guy. Apparently I wasn’t the only person taking on this little project. The day I went to purchase them, I cleared out my local Lowe’s and had to travel 30 minutes to the next one that had them. Here’s a very important note: these blocks are solid cement. By no means can they qualify as lite, so just prepare for an arm work out and you’ll need a solid truck. Or a helpful friend with a solid truck as was my case.

We started by laying everything out. Getting the visual really helped the process. It’s also how we discovered I needed 2 more blocks. Now, my back yard, is by no means level. The DIY network suggests leveling the actual block and cementing it in the ground. There were other articles I found that used pieces of wood to level the area. I went with that method and it’s worked out really well. You do need solid cutting and leveling skills to make this work, so shout out to my dad for help with that.
Once everything is laid out, you need to make a frame with pressure treated wood as you would any deck. Here’s all the wood I schlepped in being guarded by Oreo:
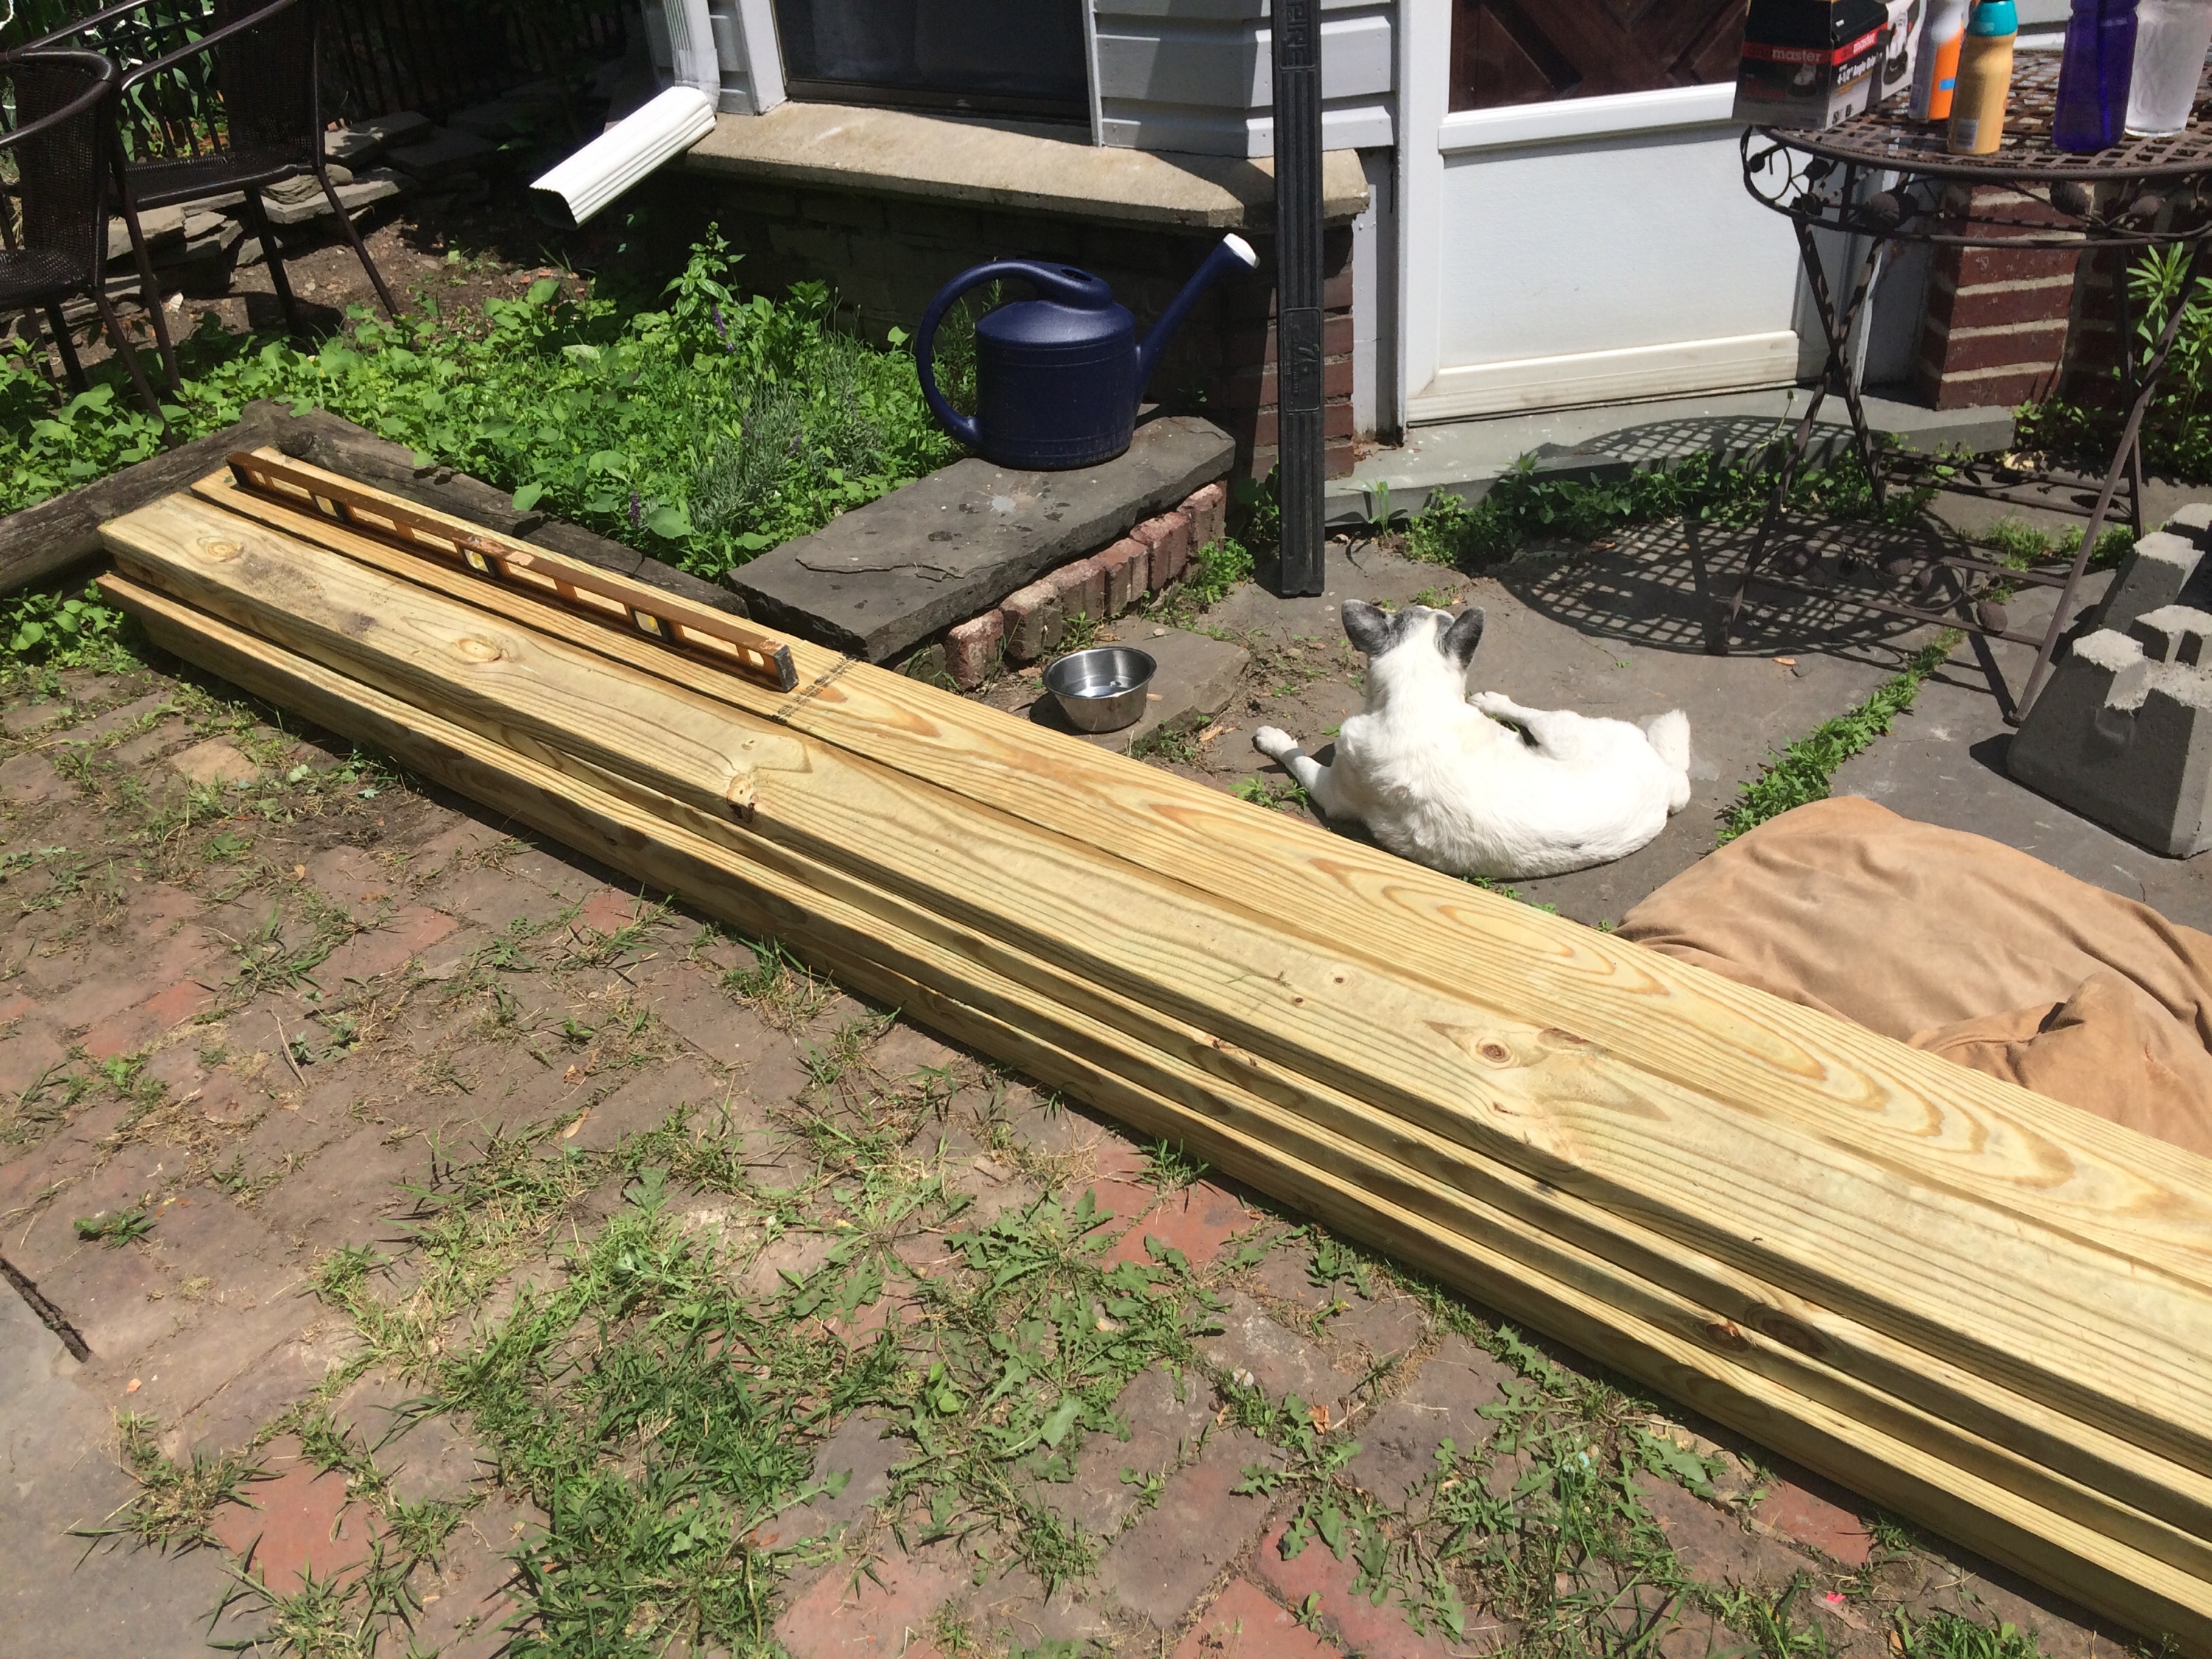
As you can see in the photo, an extra large level is the key to this project. Unless you’d like your table to slide across it, you really can’t make a proper deck with out one.
Some sites suggested putting the blocks 4 feet apart, others suggested 2 feet. After a chat with one of the many friendly Lowe’s employees I’ve harassed during this process, and setting up rows and then standing on them, we settled on 30 inches. The real issue, was I bought composite decking which was on sale at the Habitat ReStore in the Capital District for the ultimate win! Composite decking is basically plastic so it doesn’t really hold it’s shape well. If you were using wood, you might’ve been able to space out the blocks more and use less of them. But, composite lasts a lot longer. So it’s a personal choice.
For ease, I used 16ft pieces of the decking as my yard is 18 ft wide. How did I get 20 pieces of 16 foot decking home? Why the top of my brother’s Mazda hatchback of course! A truck would’ve been helpful, but, you work with what you can get. And all I could get was 1 bearded brother, 2 helpful Habitat volunteers, and 2 hours of running out of work to get this done. It was really tied on well and we drove slow, no worries folks.

The bending of the board was helpful, but, made them a bit annoying to try and move about. They stayed stacked against my house for 2 weeks as they were the first thing I bought, but, the last thing I installed.
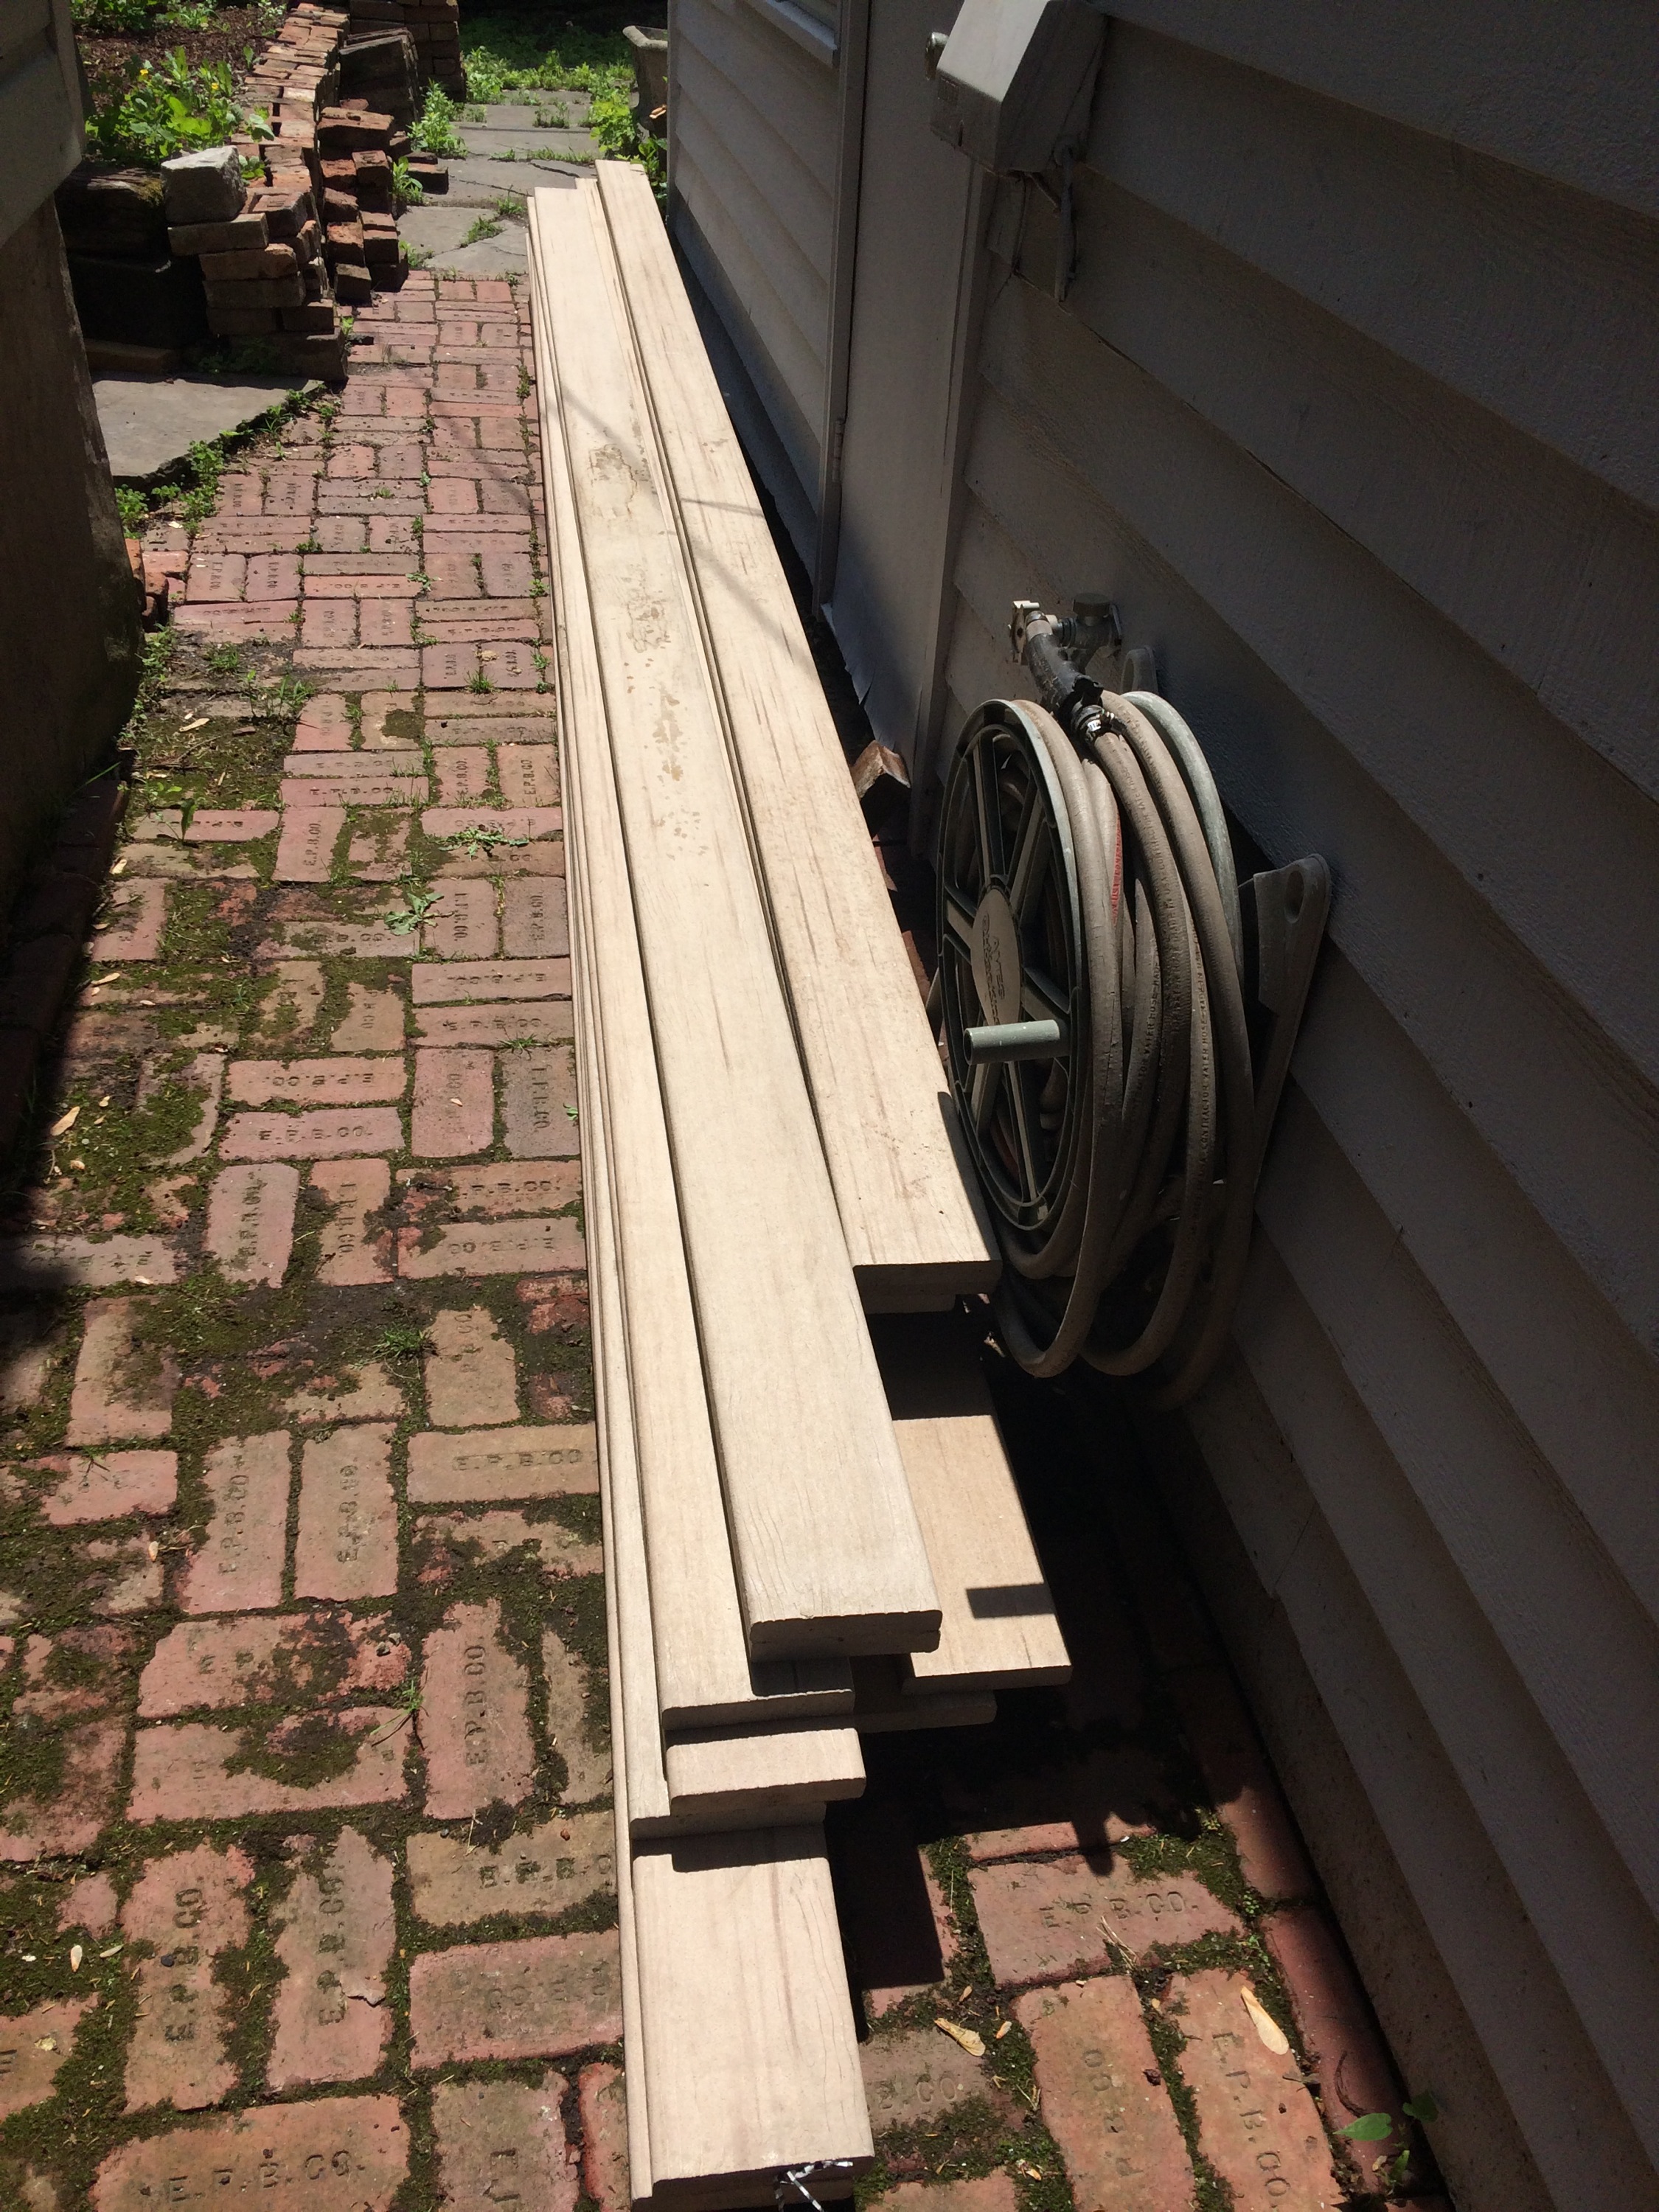
Once you get all your blocks in order, you you can start laying out the boards. I used 2×6-10 pressure treated wood. I went 10 ft because that’s how deep the area was. If you try and use products that are the size you need, you can really cut out the issue of measuring and cutting things to fit in place. Also, since this is outside, regular wood is not an option. It’ll just crumble a lot faster.

My awesome Mom came up and with the help of Da Bro lined everything up. The key to this project is really the prep. Its a bit time consuming, but, if you mess it up then the whole thing will be ruined. Another key element is a string and level system. If you can get that correct, it will help with the project. We used a very high tech broken broom to tie one end of the string and the other end you tie it to the furthest board.


You can see the wood blocks under the cross pieces that we used to help level it out. You just attach it using a bracket and you’re good to go! The blocks have a cross in the top so everything just fits wonderfully into each other.

Papa John and I did a bit of slicing and dicing with the boards to attach them all. There was a lot of anxiety about the sturdiness of this, but, once you start attaching everything it really strengthens up. Adding the deck boards really made it all work.

Thankfully the Habitat Restore also had the matching deck screws. They matched perfectly and you can barely see them.
After much hard labor and anticipation, we were finished!! Tada!
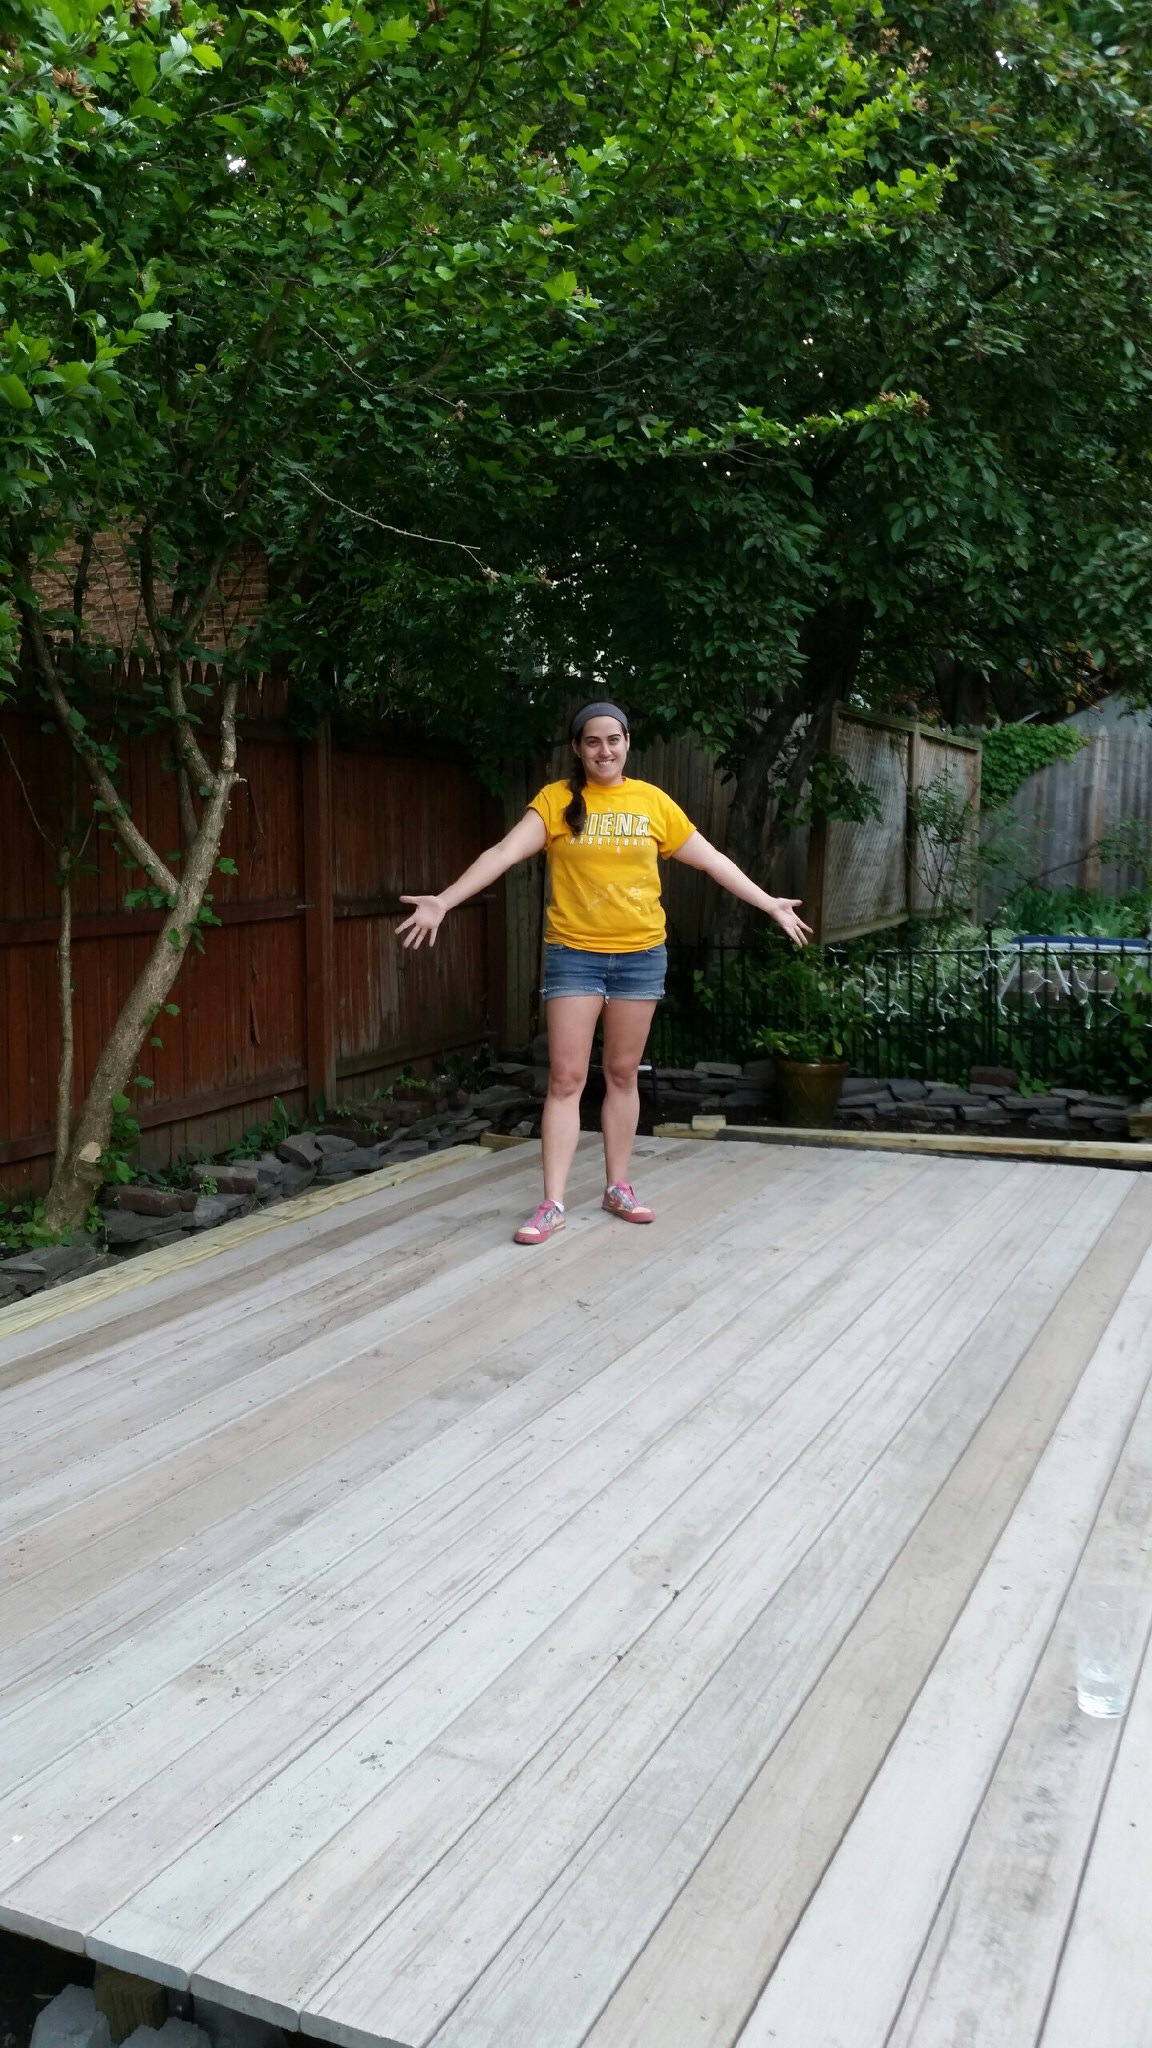
These Ed Hardy kicks and I have now completed 3 backyard builds in center square. By far, I am most proud of this one. Lots of real skills, and most importantly, power tools were necessary. So an extra special shout out to all my helpers on this project! Couldn’t have done it with out you guys!
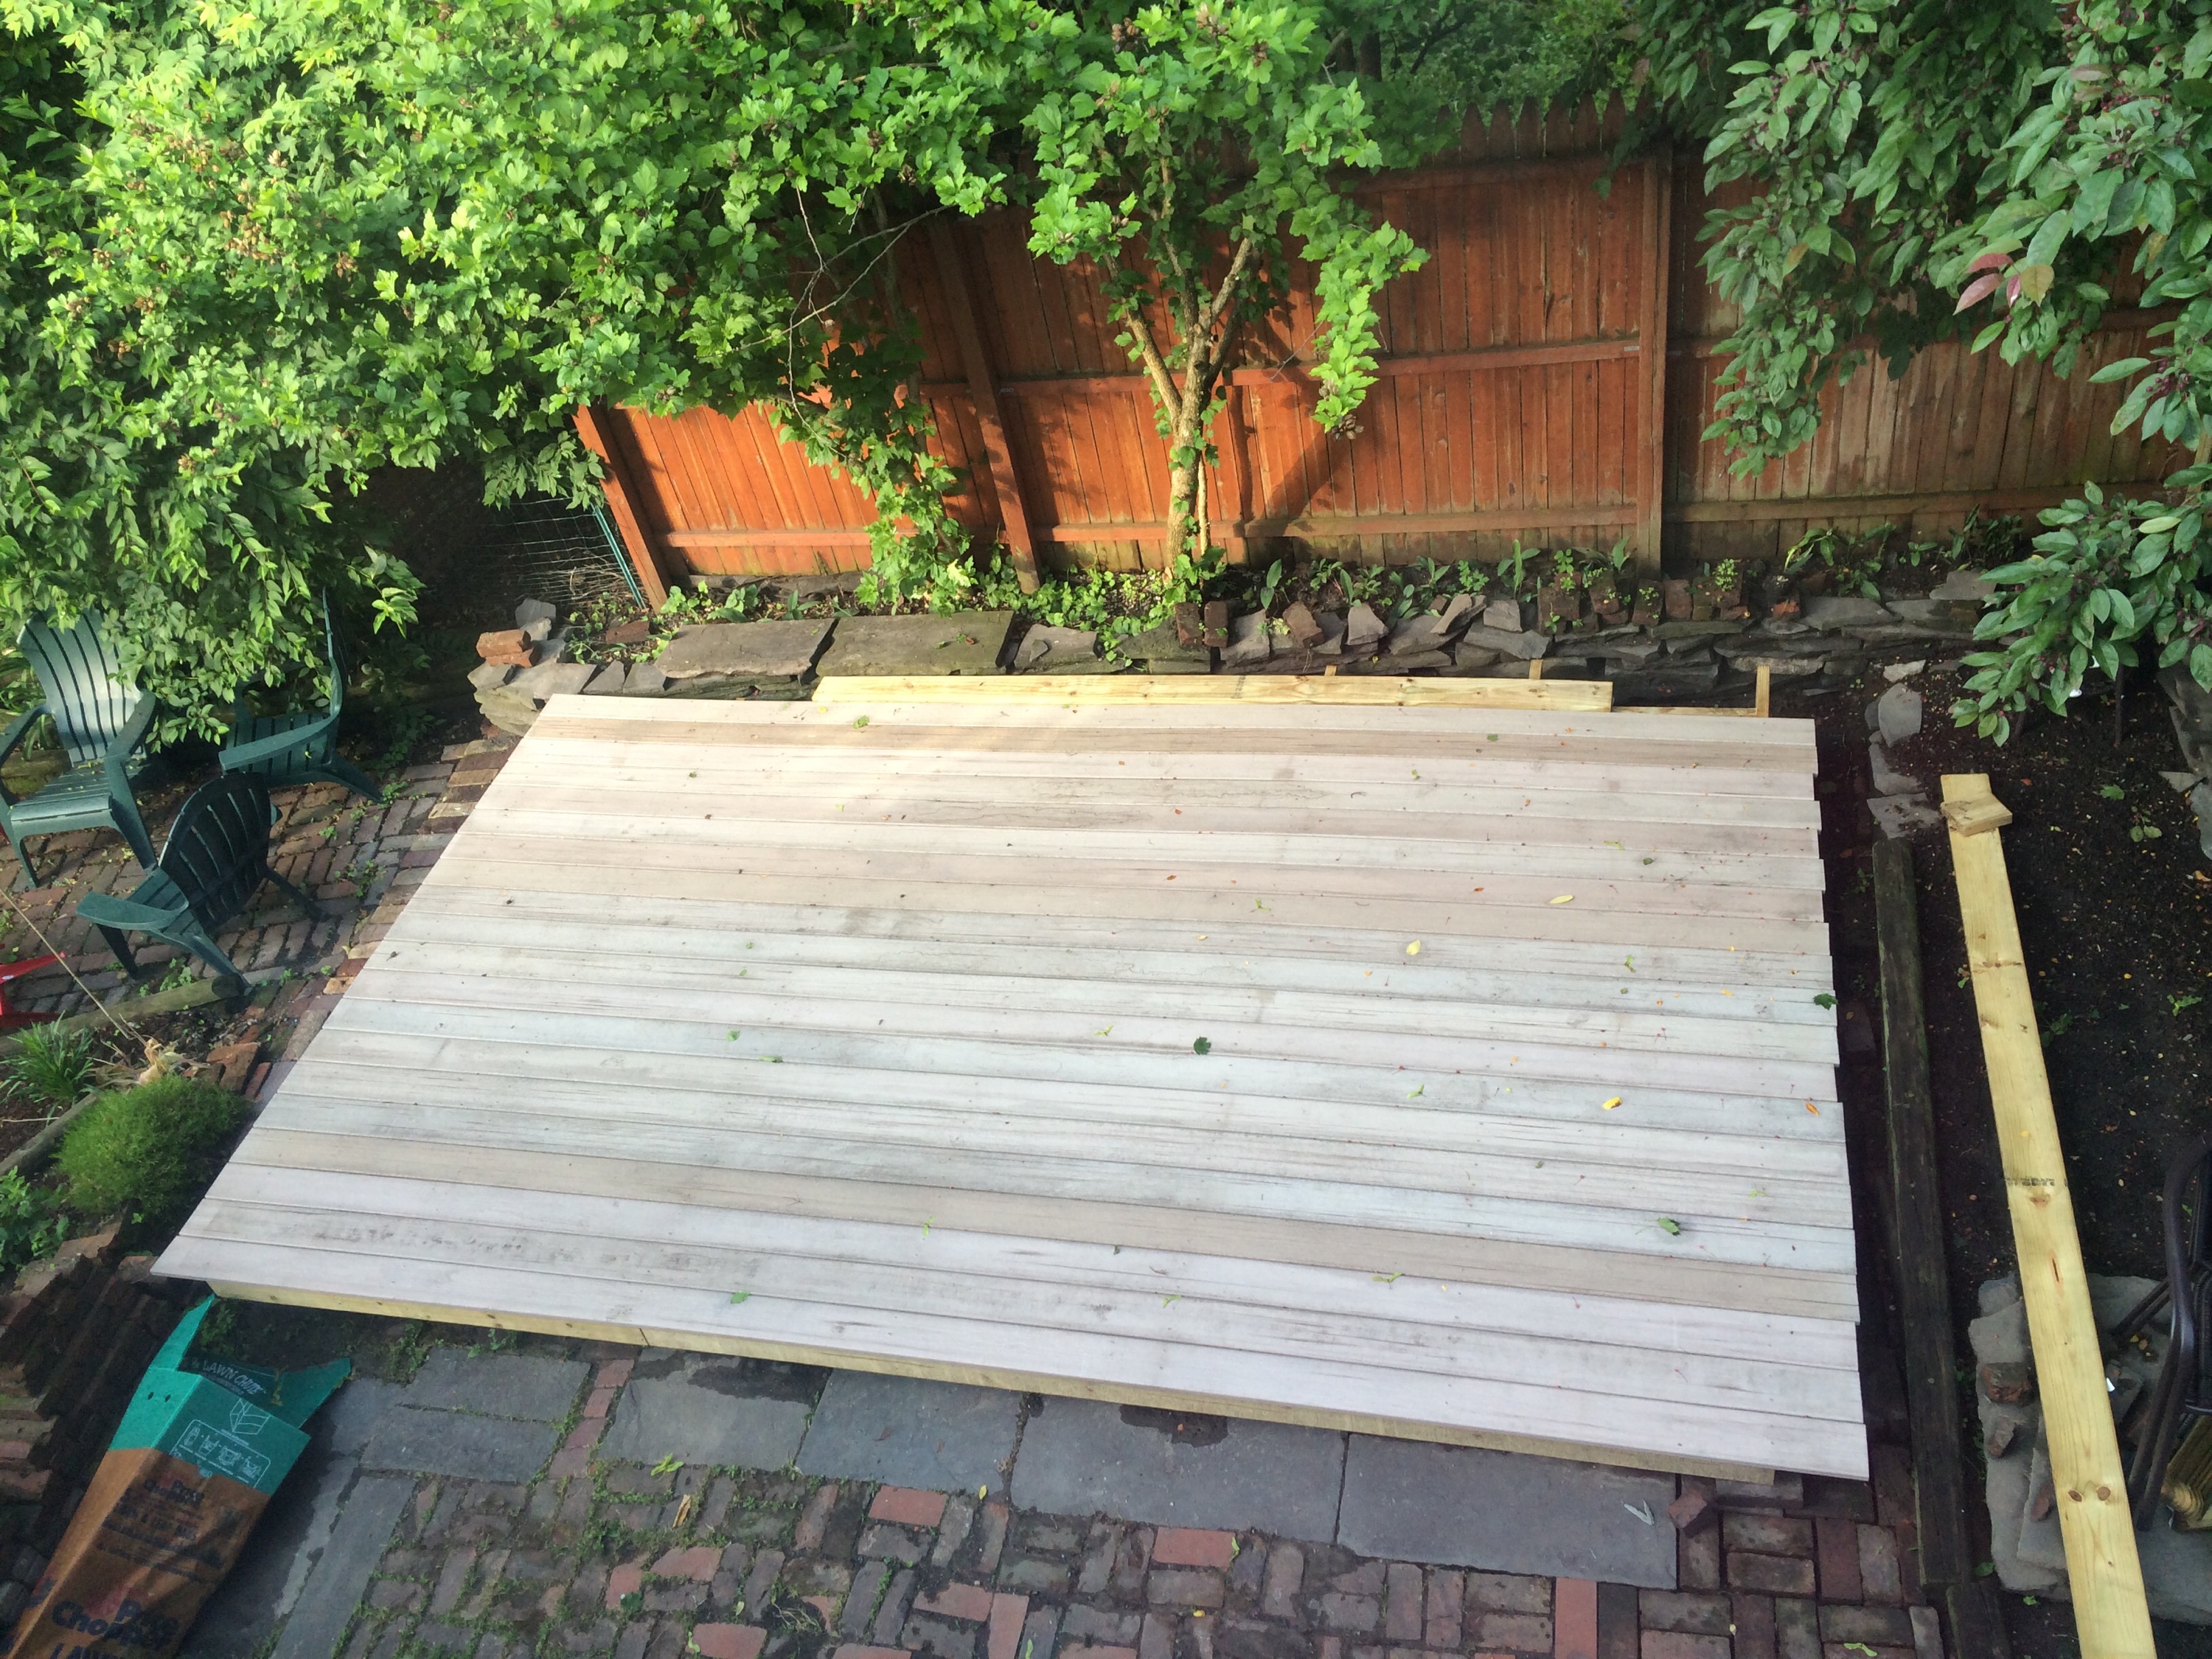
You can only truely appreciate this little monster’s beauty from above. So I will leave you with this aerial view :
Now all that’s left is getting the rest of the yard this pretty…
-Little Miss Improvement
